

Baked Samosa Recipe | How To Make Baked Samosa
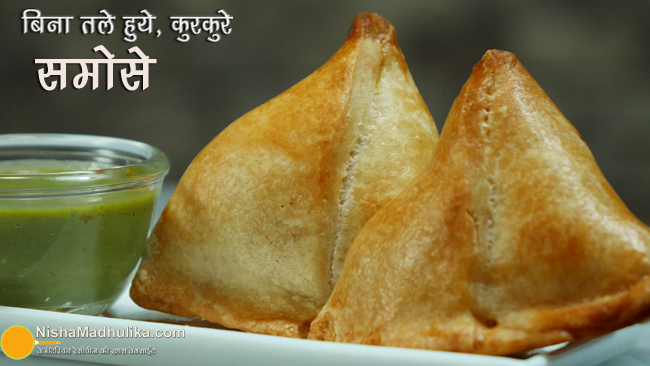
Say bye to old traditional calories filled samosa and prepare regular samosa with a healthy twist. Well, bake the same texture and taste samosa instead of deep-frying. Serve them hot with green chutney or sauce and enjoy them till you are full. Let's get onto it.
Ingredients Required for Baked Samosa:
For Dough:
Refined Flour - 2.5 Cup (350 grams)
Salt - more than 1/2 tsp
Baking Powder - 1/2 tsp
Oil - 1/2 Cup
For Stuffing:
Oil - 1 tbsp
Ginger - 1 tsp, grated
Green Chilli - 2, finely chopped
Cumin Powder - 1 tsp
Coriander Powder - 1 tsp
Potato - 5, mashed (350 grams)
Peas - 1/2 Cup
Red Chilli Powder - 1 tsp
Dry Mango Powder - 1/2 tsp
Garam Masala - 1/4 tsp
Salt - more than 1/2 tsp
Coriander - 1-2 tbsp, chopped
Baked Samosa Recipe:
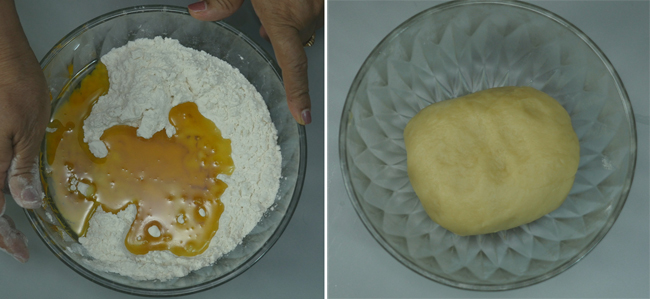
Start with dough preparation. Take 2.5 cups of maida in a bowl. Add a little more than ½ tsp of salt, ½ tsp of baking powder, ½ cup of oil, and mix well.
Add water gradually and knead a stiff dough similar to the regular samosa dough. We have used ½ cup of water for kneading. Now, cover and rest the dough for 30 minutes to get set.
Meanwhile, prepare the stuffing for the samosa. Heat a pan and add 1 tbsp of oil to it.
When the oil is hot, add 1 tsp of grated ginger (or ginger paste), 2-finely chopped green chili, (lower the flame to avoid burning of masala), 1 tsp of cumin powder, 1 tsp of coriander powder, and ½ cup of frozen peas (optional). Briefly roast the peas with the masala.
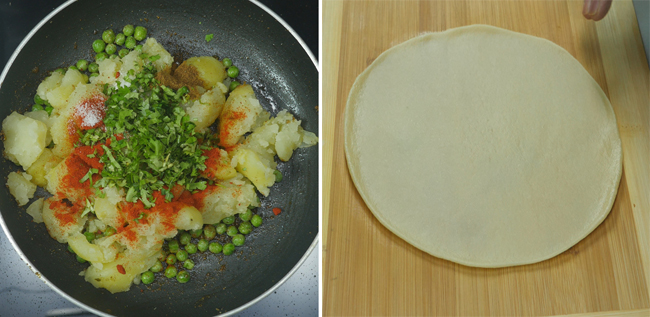
Add 5-medium mashed potatoes (boiled) to the pan. Keep the flame low and add other spices. Add 1 tsp of red chili powder, ½ tsp of amchur powder, ¼ tsp of garam masala, a little more than ½ tsp of salt, and 1-2 tbsp of green coriander to the pan.
Sauté the potatoes with the masala till they blend well together. We have sautéed the stuffing for 7-8 minutes. The stuffing is fragrant enough, indicating it is all cooked.
[After 30 minutes]
Check the dough. The dough is all set and ready. We will knead the dough once more. Break the dough into equal big portions. Once done, pick one portion and roll it between your palms to make it round.
Now, roll the dough with a rolling pin and make it an oval-shaped dough sheet. The dough sheet has to be slightly thick. When done, cut the sheet from the center to make 2-equal parts.
Pick one half and place it on your palm (upside down). Apply a little water over the straight edge of the sheet. Now, join the edges to make a cone and stick it well.
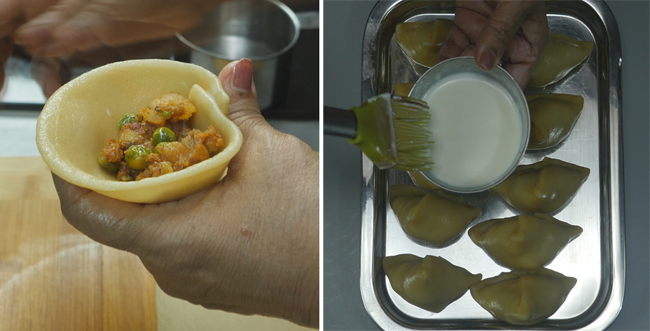
Add a little stuffing and press it down so the samosa can take perfect shape. Fill the cone with 2 tsp of stuffing and fold a pleat at the back of the samosa. Pinch the opening of the samosa and seal it well.
Place the prepared samosa in the baking tray. Likewise, prepare all the samosa and assemble them on the baking tray. Take cream in a bowl and pour milk in it and mix well. Now, grease all the samosa with the cream.
Alternative: You can use whisked Malai instead of cream.
Bake the samosa in the oven:
Preheat the oven at 200° centigrade. Bake the samosa for 35 minutes at 200° centigrade. Make sure to check it in between as the baking period may differ depending upon the oven.
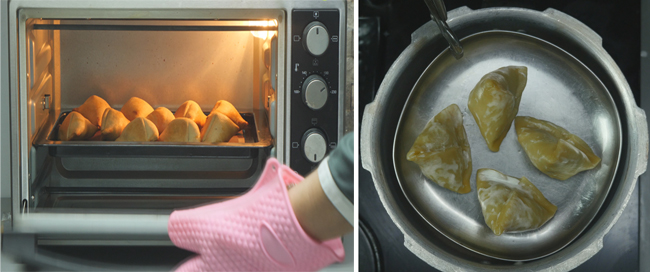
Bake the samosa in the cooker:
Take a cooker, add 2 cups of salt* to it, and place a stand inside the cooker. Remove the gasket and pressure regulator from the cooker’s lid. Close the cooker and preheat the samosas for 5-6 mins over high heat.
Take a plate that can fit inside the cooker. Grease the plate with a little ghee. Put the cream-coated samosas on the plate. Once the cooker is well heated, put the plate inside the cooker and bake the samosa for 25-30 minutes over low heat.
After 30 minutes, the samosas have turned brown from all sides. Take the plate out from the cooker.
Baked samosas are ready to be served. Serve these samosas with any chutney or sauce and enjoy it till you are full.
कुरकुरे समोसा बिना तले ओवन या कुकर में बनायें | Baked Samosa without Oven | Samosa Banane ki vidhi

Tags
- Snacks Recipes
- samosa recipe
- samosa dough recipe
- samosa recipe video
- Baked samosa
- Baked Samosa Recipe
- How To Make Baked Samosa
- baked samosa without oven
- baked samosa dough recipe
- baked samosa in pressure cooker
Categories
- Baking
- Snacks Recipes
- Miscellaneous
- Stuffed Vegetable Recipes
- School Tiffin Recipe
- Indian Street Food
- Featured
- Samosa recipe
- Baking Recipe
- Street Food Recipe